Tuesday, May 31, 2011

Converted Rune Priest redux

I had this guy up for auction on E-bay and he didn't sell. That left me with some extra time to spend with him so I  added some extra tones and details. I also made him a chooser of the slain marker. Here he is before and after presented after and before.


I also tried something new by adding a little more shine to the armor which was fun. Here he is in his completed glory.


Cross your fingers he's off to the market once again.

Well that's all for now but this weekend was very busy. With a games day coming up I have lots of fun stuff to show and very little time to do it :)

Wednesday, May 25, 2011

Deathwing project log update

I've been steadily chipping away at the massive Deathwing Commission handed to me form Kevin the bitz pimp (http://myworld.ebay.com/teachermickeymouse/?_trksid=p4340.l2559) I've crawled across the longest mile through sheer mechanical toiling. 
Before applying a wash of badab black  I had to paint all the silver, astronomicon grey, codex grey and white. Then add the highlights. This was the longest and most mundane part of the process, I think you can say that about any project when you're painting a batch of 35 guys at once. 

Here they are lounging about on a TV tray.


and here's a group and that wandered into my lightbox.


The only steps that remain are painting lighting on all the power weapons, highlighting the metal, armor and grey details. Oh and I have to take care of the few guys that are helmetless.

So hopefully I'll have these guys out of the way by the weekend and I can move on to the 3 landspeeders and  HQ section.


Monday, May 23, 2011

Lord Draigo Finished!

I am proud to present, in all his shining glory, Lord Kaldor Draigo. This model has been a challenge and a learning experience. I have to say I've enjoyed the whole process, it gave me some chances to experiment with some ideas I've had for a while. All in all he's not perfect but definitely worth the time spent.


Here's the Coolmini link

As I said before he was a project I intended someone else to own. If you have disposable income check out the Ebay link :)

Thanks for checking him out :)

Friday, May 20, 2011

Zombie Wip

Jake and I sat down and worked on our zombies today and I want to share the progress we made. Well, I made at least, I didn't get a chance to photograph Jake's mini. So here's the zombie so far. Just the skin and a small start on the base.


I really like the colors so far and the whole model in general. I have good feelings about him :) 
Next time we'll work on the tunic, I'm thinking a very dark olive green with some aquamarine shadows and add some graveyard earth and codex grey to the mix for the highlights. Hopefully we can get together next week sometime and I can bring you some more progress.


Thursday, May 19, 2011

Ejected ground base for a Zombie

Here and there my friend Jake, who's also a miniatures painter which is rare around here, get together and paint. Riveting. The last time we hung out we decided we were both going to paint a similar model, I think night goblin shaman was the first idea, we would use the same colors and I would show him some techniques. Well Kevin the bits pimp's(http://myworld.ebay.com/teachermickeymouse/?_trksid=p4340.l2559) thick finger once again found it's way into the mix after he handed me a blister of Rackham Zombies which he had pilfered a scythe from and no longer needed. So Jake and I chose our Zombies and have been prepping them during the week.

I've really been enjoying some of the bases I've seein lately with a sort of ejected ground look to them. You know the ones, the ones where the model is mounted on a chunk of hovering terrain which is attached to a plinth. I really like what these do for the model, it makes it completely separated from it's base and exposes dirt on the underside and opens up more potential for details like rootwork or piping and all sorts neat shit.

I kept it relatively simple for my first attempt. Nothing too time consuming because I'm up to my ankles face first in a Deathwing commission at the moment.


Here's where he stands so far. I really wanted to exploit the z shape created by the zombie's scythe and lantern. Once I tapered the base and added some curving roots it nearly makes a figure 8 which gives it great movement. More on him as he comes along. Now back to Kevin's Deathwing. Who I'm starting to wonder if I can go 2 posts without mentioning his name.

Wednesday, May 18, 2011

Scratch built Rune Priest Finished

As promised here's the other Rune Priest, now with paint. To see him without scroll back a few posts. He's up one E-bay and I'm keeping my fingers crossed. It's not that I want him to sell I just greatly enjoy going to the post office.


Here's the link for any one with disposable income

Well he's off and running and I'm going to continue to paint the gigantic Deathwing Commission handed to me by Kevin (http://myworld.ebay.com/teachermickeymouse/?_trksid=p4340.l2559) So far I've gotten about where I expected. The fest over the weekend delayed me as planned. There was however the unplanned delay of coming home to find my camera has been stolen, I didn't see that one coming. Maybe it's coincidence that you open your door, or rather floor, to people from out of town and your fancy camera disappears. I don't know who did it but I do know it's gone...

So here's where the Deathwing are sitting at the moment.


Still a lot of work to do. I need to finish painting adeptus battlegrey in the necessary spots on 33 more terminators and many other obvious parts remain. On the plus side the bases, greens, and reds are done :) Tomorrow is another day.


Wednesday, May 11, 2011

Lord Draigo wip

Draigo is getting close but still so far, I still need to make all the colors brighter, he doesn't have quite enough contrast to really make the NMM pop. At least the way I want it to. The base is also not as far along as the model. I did finally put him together last night so now I only have one piece to paint instead of a separate head, shield arm, and base. Here he is so far, hopefully I'll be able to finish him in the next couple of days.


It's going to be a hectic weekend, there's a big diy fest in the area and I'll be having one of the touring bands stay at my place. Besides attending the 3 day fest and all that goes with it I have a strict work schedule to follow. As I mentioned before Kevin the bitz pimp (Ebay Store http://myworld.ebay.com/teachermickeymouse/?_trksid=p4340.l2559)  was assembling a massive Deathwing commission for me, earlier in the week we made the hand off. I drew a schedule to make the most of my time before gamesday that should allow me to have everything I want to enter prepared and keep the commissions going. The plan for Kevin's Deathwing is this:

37 Terminators

day 1 bases
day 2 basecoat armor and add sponge stippling damage
day 3 Red edge highlight half the force
day 4 Greens and skin
day 5 Greys & Black edge highlight remaining force
day 6 Silver
day 7 Special detail on Belial and Chaplain
day 8 Special detail on Belial and Chaplain 
day 9 extra day
day 10 extra day

That's the schedule I'm going to try and keep and I've allowed myself some extra days in case life gets in the way...So  that's my plan, hopefully I won't be too busy to document the progress but odds are you won't hear much from me until after the weekend. Day one goes well I'm nearly finished with the bases :)

Monday, May 9, 2011

Tutorial: Shipping Miniatures / Sanguinary priest on E-bay

Since I've heard some E-bay horror stories lately, like shipping models in a plastic bottle with no packaging for example, and I've been selling models online with no plan of stopping I decided I'd like to share how I go about shipping a miniature :)

First you need the necessary supplies.
- A box, I've found that a 200 count card box from the hobby shop is a near perfect size for shipping a model. and they're only 75 cents
-Small baggies
-bubble wrap
-tape
-scissors or similar bladed weapon of +2 cutting power
-and of course a model


The small baggies are optional but I like using them for the magnetic options so they don't spill out when the packaging is unrolled.


Now that you've burrito wrapped your model and whatever else you'd like to send it's time to add a personal touch. I like to leave a note on the inside of the lid and a picture hidden on the front of the box. This is the personal touching that everyone receives. Here we can see an illustration of a space marine playing rock and roll on top of a mutilated demon. Rock on Brother!


Now the whole kit and kaboodle is ready to receive it's ceremonial square of tape and after it is addressed, make it's way through time (zones, possibly) and to your doorstep.

Who knows what mystery lies in the plain white box...


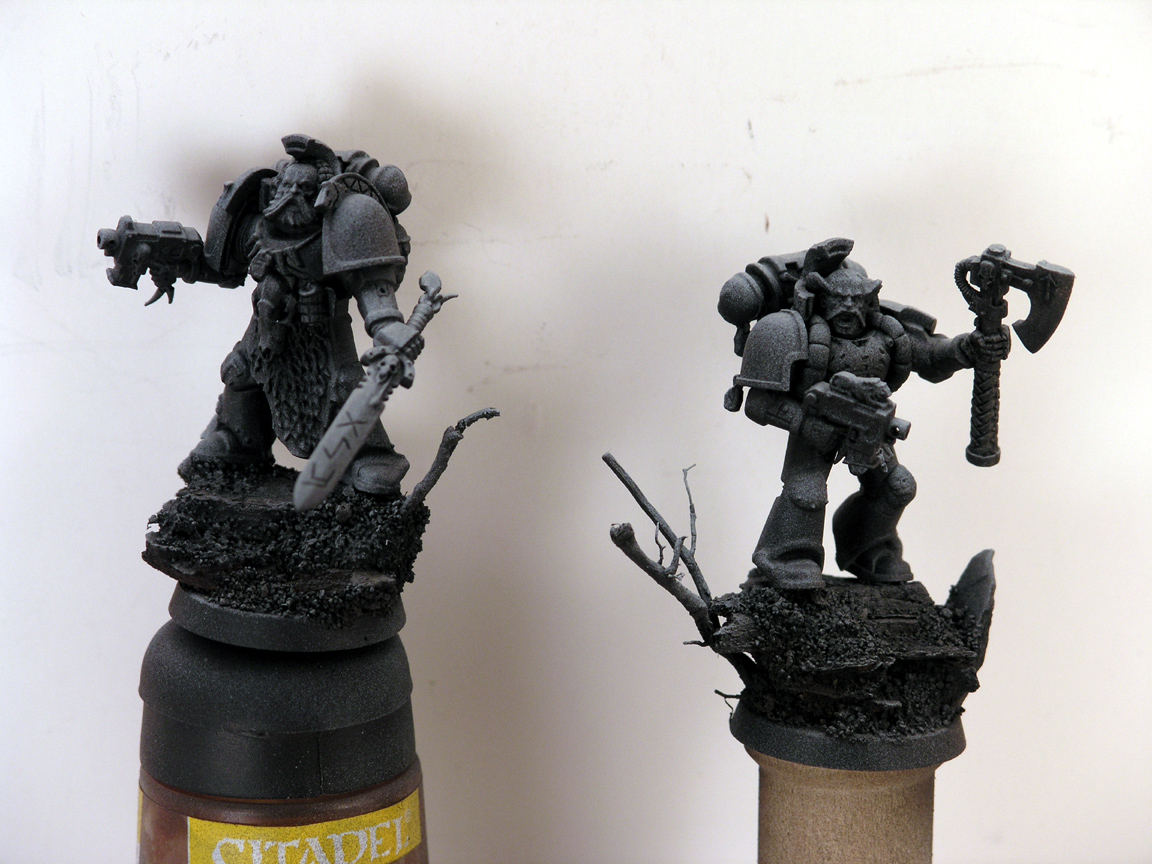
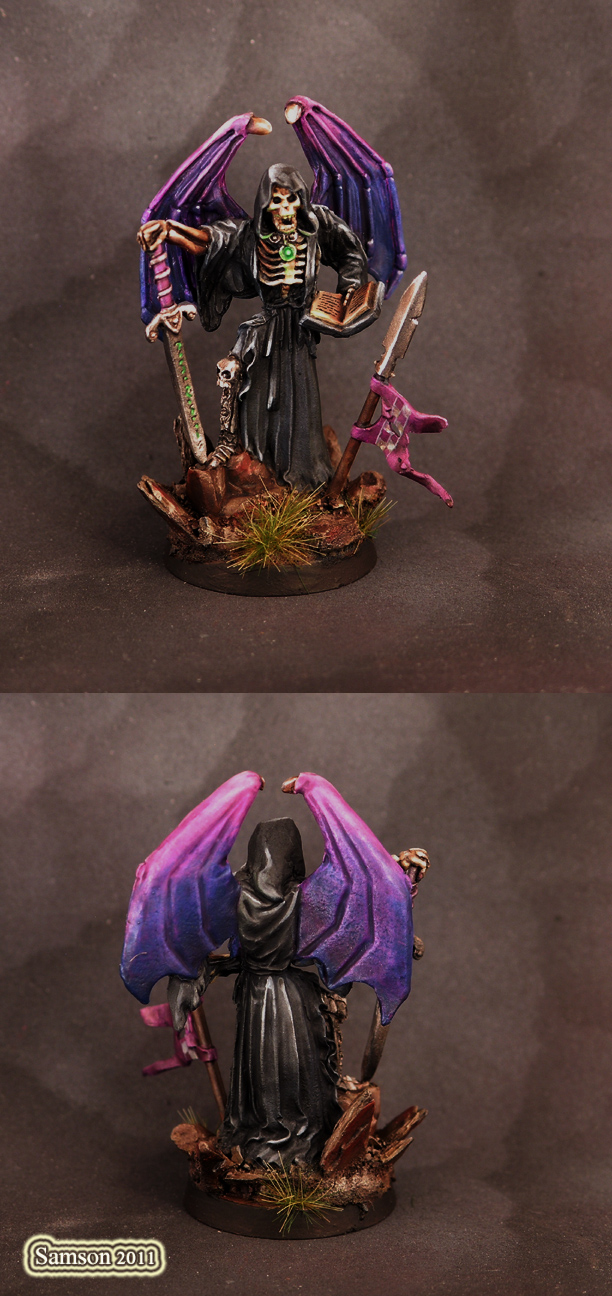
As promised here's the next Sanguinary priest I'll be shipping out. 


E-bay link:

I enjoyed the alternate color scheme and even gave him red gems, just for you tom ;)  After painting 4 of these guys at this point they're still fun models to make and paint. It's also a plus that I can put bloody gore on every one of them.


Saturday, May 7, 2011

Scratch built Rune Priest finished

I'm happy to say I finished both of the Rune Priests I was working on early this week. I'm still trying to figure out the perfect recipe for snow which was fun to tamper with when I was basing these guys. I'm finding you want over a 50/50 mix of watered down glue to baking soda. I also looked up a translation of Nordic runes and added them into the designs on the right shoulder pads of these guys. Fun! Being space wolves I then threw a Celtic design in the middle of the runes.


Here's the E-bay link

I'll post the other one I made after the auction ends on this one ;)

Now it's time to get back to work on Lord Draigo. 

Tuesday, May 3, 2011

Sanguinary priest up for sale on E-bay!

Phew, 2 posts in one day! This one's a quickie, I just threw up one of the sanguinary priests I've been working on on E-bay. Hopefully he finds his way to a good home, I put some extra loving into this one. Soon I'll have a rune priest to ready to go too, I'm not going to lie, having 3 auctions up at once last month was pretty fun. Hopefully I can pull it off again. We'll see what happens.


Scratch built Rune Priests step 1 and a miniature gift

 I'm building the supply of E-bay minis back up this week and aside from some sanguinary priests I'm working on some rune priests as well. It's priest mania, everyone must go!

I originally spent this morning taking step by step pictures of the two priests as they came along. After taking a better look at the photos in photo shop it was all for nothing :/ No big deal I do have some pictures of them before any paint and with a primer coat.


After I put the usual tubes going into the head on the first one (the one to the right) I wanted to try something different on the second, also the miniature had a lot of flare around his waist and that would require heavy converting to add the same effect as the first. It may not be a good angle but I sculpted a mess of wires going into his head from the psychic hood. Not the prettiest sculpting but I try not to worry too much on the E-bay minis, not every model can be painted to exhibition quality.


Many thank to the bitz pimp Kevin (http://myworld.ebay.com/teachermickeymouse/?_trksid=p4340.l2559) He not only supplied me with a box of grey hunters but also gave me 3 metal axes from the rune priest GW sells. Buy his stuff!

I was also looking over the may photos from this year's Adepticon and came across this picture of my buddy Adam, he's the guy who interviewed me for Beasts of War.


Adam is the dashing muse on the left, he also has a blog and between his and massive voodoo I was really motivated to start this one. Check out his page http://atomsmashing.wordpress.com/ good stuff! The other mug in the photo is that of the much blogged about brother John :) hey Bro!

In the interview with Adam I presented him with a mini, here's that very mini.